Recap
If you haven’t checked the first article out, please do here.
This article will cover mainly the events on day one, along other appropriate stories fit for this article. Source code shown is in the state that it is in right now (i.e. the complete app). I only set up git later on in the development process due to time reasons. Some components may not be explained, that is to be expected.
In summary, I thought the campus that the event was held in was pretty cool in all, and gave off some heavy hospital vibes. Despite the very late start and multiple delays given without much explanation, initial impressions were very good.
Structure for the first day
It was very simple, we would have 2 coding sessions that’d last for 1h30m and 2h respectively, however due to the delay before prior to the opeing ceremony, the times were shifted a bit. We were to have our coding session 1 end at 5:00PM, and and coding session 2 to begin at 5:30. That means that we would get 1h30mins for the last coding session. Oh well.
Coding session #1
As addressed in my first article, I went to the library to get work done.

(That’s actually a custom BIOS, my own Coreboot GRUB+SeaBIOS payload! Article coming soon).
I ultimately decided against using GTK+Rust+Libadwaita due to additional complications that I did not want to deal with later. I also really didn’t want to deal with the whole async rust shebang, which is a pure pain in the arse.
I did find a few tablemates, however. A man by the name of Jiwoo was sitting at a table and I decided to join him. We talked for a bit, and I found out that he went to Saint John’s International in Singapore, and that he’s actually a pretty good Python developer. I was still brainstorming when I sat next to him because I was still so clueless on the theme “Life on all elements” (I still don’t know what that means exactly).
I met a few of his friends who just had a Comp Sci exam, and had come late. We talked about project ideas and a possibility of a team merger. My idea was to use raylib to make a bug killing simulator in a living room, as bugs are elements along with other things in a room with life, and they really seemed to like the idea of raylib, but we all mutually agree that doing a team merger would be dumb. Our prior experiences are quite different (as I learnt C as my first language for some reason, and still mainly use it along with Rust). I also didn’t resonate with their idea of a chemical reaction simulator.
This is how I ultimately decided on using Vue.js and TS as described in the first article. But where did my idea come from?
Snack time (an interlude)
I really wanted a break from this stuff, so I decied to go to the second floor to get snack, as I saw a café there. It was actually a huge mistake, as I soon found out that all food at this vent, including the snack was completely complimentary. But it really was a blessing in disguise.
I got a Samosa (like a true Indian food enjoyer [1]).
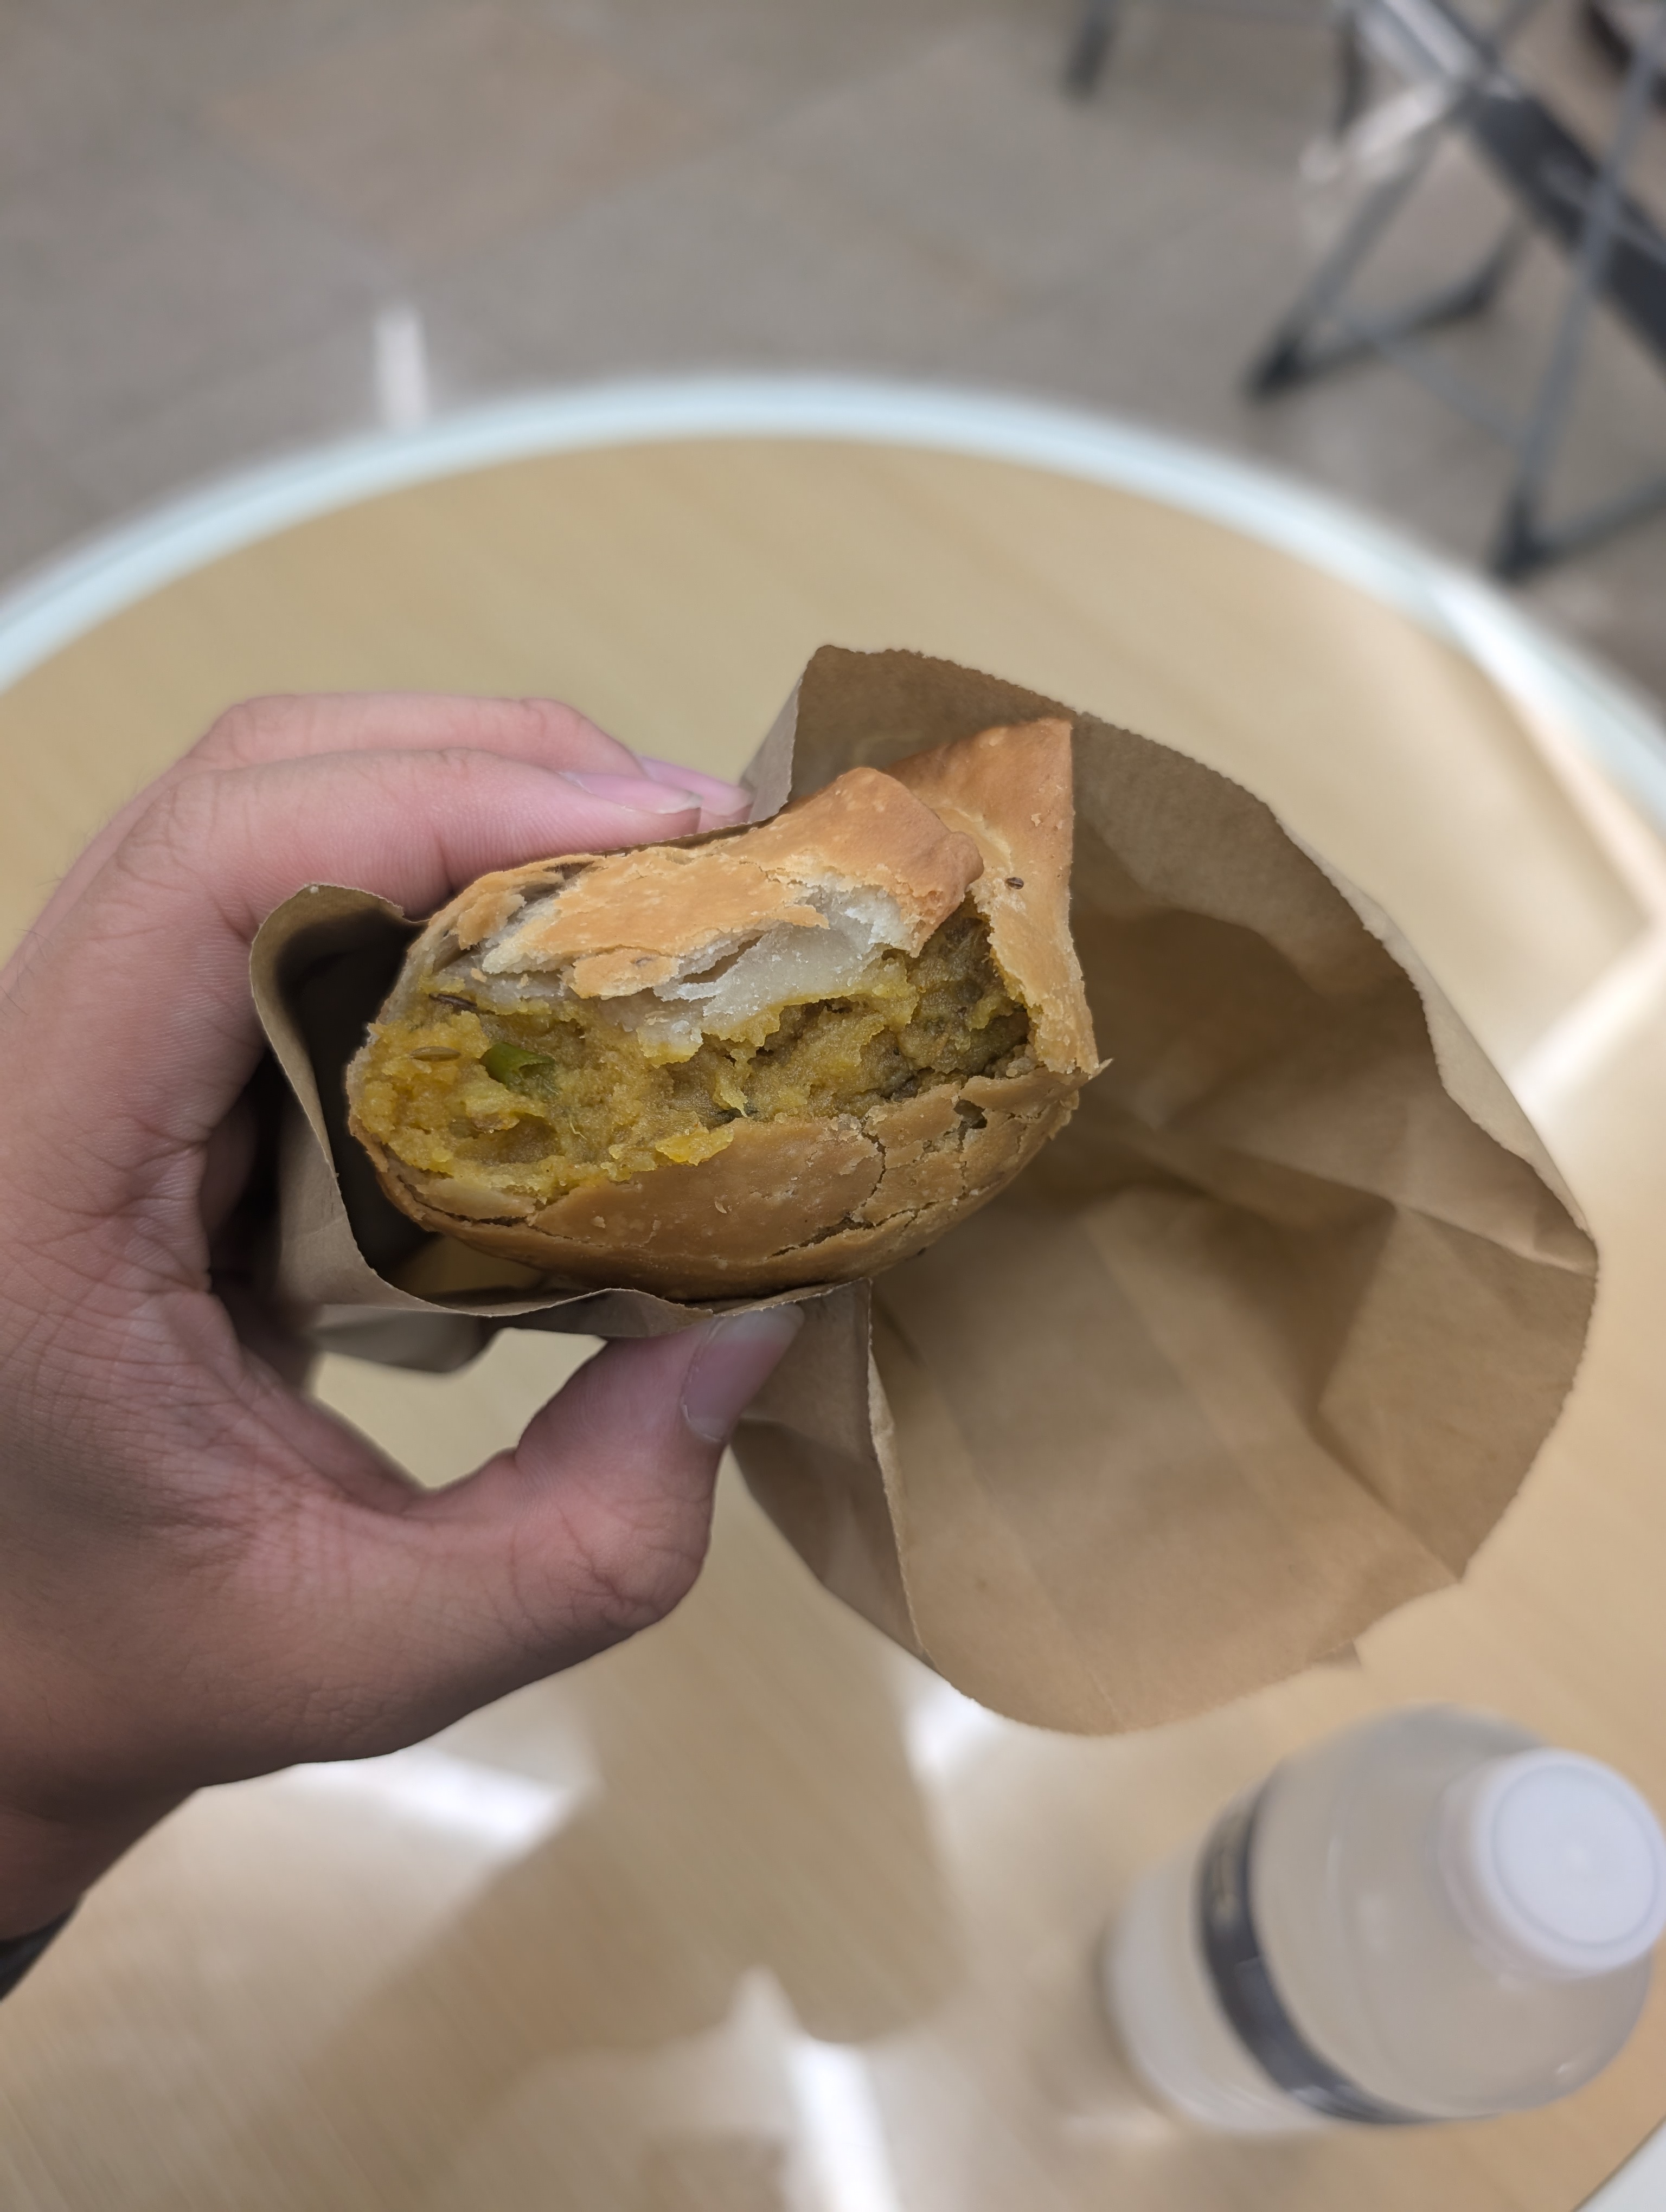
But while I enjoyed that piping hot samosa for 2 dollars (I think) (I almost burned myself) an idea popped in my head.
See, this samosa was made by following a set of instructions, a recipe. Written down or not, it was processed by somebody’s brain and those instructions were followed to make delicious food.
Yet, I thought, we aren’t cows or sheep. We must prepare our ingredients in such a way that we can taste it, such that we can enjoy it and use its nutrients effectively. We must cook food, and a recipe is crucial to that.
Therefore the idea came up. Make a recipe scroller. One can scroll in an infinite and never-ending list of recipes, and continuously discover new ones. They should also be able to specify their dietary needs and have their recipes in their feed tailored to them.
so basically I came up with my idea over a samosa.
Instead of quickly running up like a cartoon innovator, however, I decided to get a bottle of water and a mystery orange chicken sandwich nuked in the microwave (which was nice too), and I waited till the end of the break to really get my idea baked into my mind so I wouldn’t contemplate when I’d be productive
The second coding session
I told my rough (at the time) idea to my new-found friends Jiwoo and the other people (I don’t know their names, I should have asked LMAO), and they seemed to love it.
The overall architecture
The idea was to use Vue.js, and TypeScript. I would make a single-page application (an SPA) and use Vue Router as a way to swap out components naturally to emulate a multipage application, but with absolutely no lag when switching between pages. I’d also have a navbar just like a proper web app.

In this session, I didn’t really do much. I brainstormed potential features I wanted more, and I also browsed on RapidAPI to see what my API options were. I decided on using spoonacular, which would actually be my downfall (foreshadowing), and I got right to work on the settings.
The settings page
My idea was to use the browser local storage. In JS, you can simply access it with this simple expression:
window.localStorage
This is a basic key-value store. You can store JavaScript primitives in it by simply
issuing .setItem(key, value). This way, I was able to cook up a basic way to save
persistent application state without a server. With that, I was able to make a simple
diet setting item, which would save if you were vegan, vegetarian, non-veg, pescetarian
and the like.
// types.ts

export enum Diet {
    NonVegetarian = 'Non-Vegetarian',
    Vegetarian = 'Vegetarian',
    Vegan = 'Vegan',
    LactoVegetarian = 'Lacto-Vegetarian',
    OvoVegetarian = 'Ovo-Vegetarian',
    Pescetarian = 'Pescetarian'
}
I used a simple TypeScript enum for this. Then I used some some reactive state to save the currently selected diet option.
import { Diet } from '@/types.ts'

const selectedDiet = ref<Diet>(Diet.Vegetarian)
I made a diet bubble component that would display a div and a font awesome icon. Oh Wait-
Font Awesome
my good friend. As I would soon find out, there are actually 3 ways that one can go about displaying FA icons.
- Use the JS
<script />tag method, - Download a bunch of CSS and import that
- Use a Node.js package and Vue components
The first one didn’t work. A typical Vue SPA looks like this (not a complete directory tree):
|
+- node_modules
+- src
|  |
|  +- main.ts
|  +- App.vue
|  +- router
|     |
|     +- index.ts
+- package.json
+- tsconfig.json
+- vite.config.ts
+- index.html
+- env.d.ts
I decided to put the script tag in the index.html where all the Vue code is eventually injected. That didn’t really work.
I also tried downloading a bundle including CSS and all necessary fonts and SVGs, but that also didn’t work.
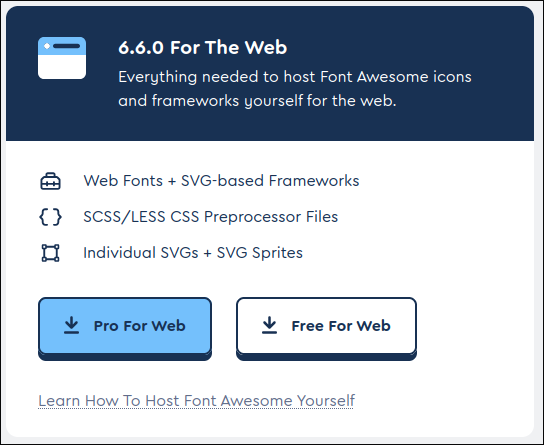
In the end, I decided to use the third method. I followed this guide, and icons were displaying just fine.

..and it only took me till around 6:45 to finish. What an unproductive first day.
By the end of session 2, I had finished what the bubble was supposed to look like, but only one (the one that says Vegetarian). Unfortunately I do not have screenshots or a commit from when I finished that. Sorry ._.
More Vue
The component is very simple. It looks like this:
<script lang="ts" setup>
import type { Diet as DietT } from '@/types'
import { Diet } from '@/types'
import { far } from '@fortawesome/free-regular-svg-icons'
import { fas } from '@fortawesome/free-solid-svg-icons'
import { FontAwesomeIcon } from '@fortawesome/vue-fontawesome'

// Component properties: TS+Vue allows one to pass an iface in as a generic type argument to define props.
interface Props {
    diet: DietT
    showTick: boolean
}

defineProps<Props>()

// Reactive state
</script>

<template>
    <div
        class="diet-bubble-container"
        :class="$props.showTick ? 'diet-bubble-container-green' : 'diet-bubble-container-blue'"
    >
        <span class="diet-bubble-container-icon">
            <!-- using Vue's v-if/v-else-if/v-else directives to do conditional rendering -->
            <FontAwesomeIcon v-if="$props.diet == Diet.Vegetarian" :icon="fas.faLeaf" />
            <FontAwesomeIcon v-else-if="$props.diet == Diet.LactoVegetarian" :icon="fas.faCow" />
            <FontAwesomeIcon v-else-if="$props.diet == Diet.OvoVegetarian" :icon="fas.faEgg" />
            <FontAwesomeIcon v-else-if="$props.diet == Diet.Vegan" :icon="fas.faSeedling" />
            <FontAwesomeIcon v-else-if="$props.diet == Diet.NonVegetarian" :icon="fas.faBacon" />
            <FontAwesomeIcon v-else-if="$props.diet == Diet.Pescetarian" :icon="fas.faFish" />
        </span>
        <span class="diet-bubble-container-diet-name">{{ $props.diet }}</span>
        <FontAwesomeIcon
            v-if="$props.showTick"
            :icon="far.faSquarePlus"
            class="diet-bubble-container-x-icon"
            style="color: var(--vt-c-white-soft)"
        />
    </div>
</template>
This is excluding the CSS, of course (covered in the netx article).
It simply renders 2 span elements, one with a font awesome icon that is
conditionally rendered based on the enum’s state, and the other is just the
enum name. I also included an icon that would pop up on hover, if a property
showTick is set.
<DividerItem>Your diet is:</DividerItem>
<div class="diet-container">
    <DietBubble :diet="selectedDiet" :showTick="false" />
</div>

<br />

<DividerItem>Or set your diet:</DividerItem>
<div class="all-diets-container" v-for="(diet, index) in diets" :key="index">
    <button class="null-button" @click="setCurrentDiet(diet)">
        <DietBubble :diet="diet" :showTick="true" v-if="diet != selectedDiet" />
    </button>
</div>
I made a class null-button which is basically a button with all the properties
unset so I could put a div in it AND use the @click event handler just fine.
I would render every possible diet (which is preset in the diets array) with the
v-for directive, and if the DietBubble is clicked I would call setCurrentDiet
with the diet the button is displaying. It is a closure that looks like this:
const setCurrentDiet = (diet: Diet) => {
    selectedDiet.value = diet
    window.localStorage.setItem('diet', diet)
}
I used an arrow function (a closure) because you can capture the surrounding values
just fine. In the end, clicking a diet bubble saves its state in local storage and
displays it (through the reactive variable selectedDiet) Easy!
Dinner
We were called to dinner at 7. Again, it was served on level 4. This time, I actually cared to go up (because I knew that it was going to be served there), and I was greeted by a wonderfully long line that stretched all the way from the counter into the corridor; luckily they had 2 lines for crowd control.
(unfortunately I dont have pics. whoops-)
After I claimed my food, I was actually not surprised that served us…
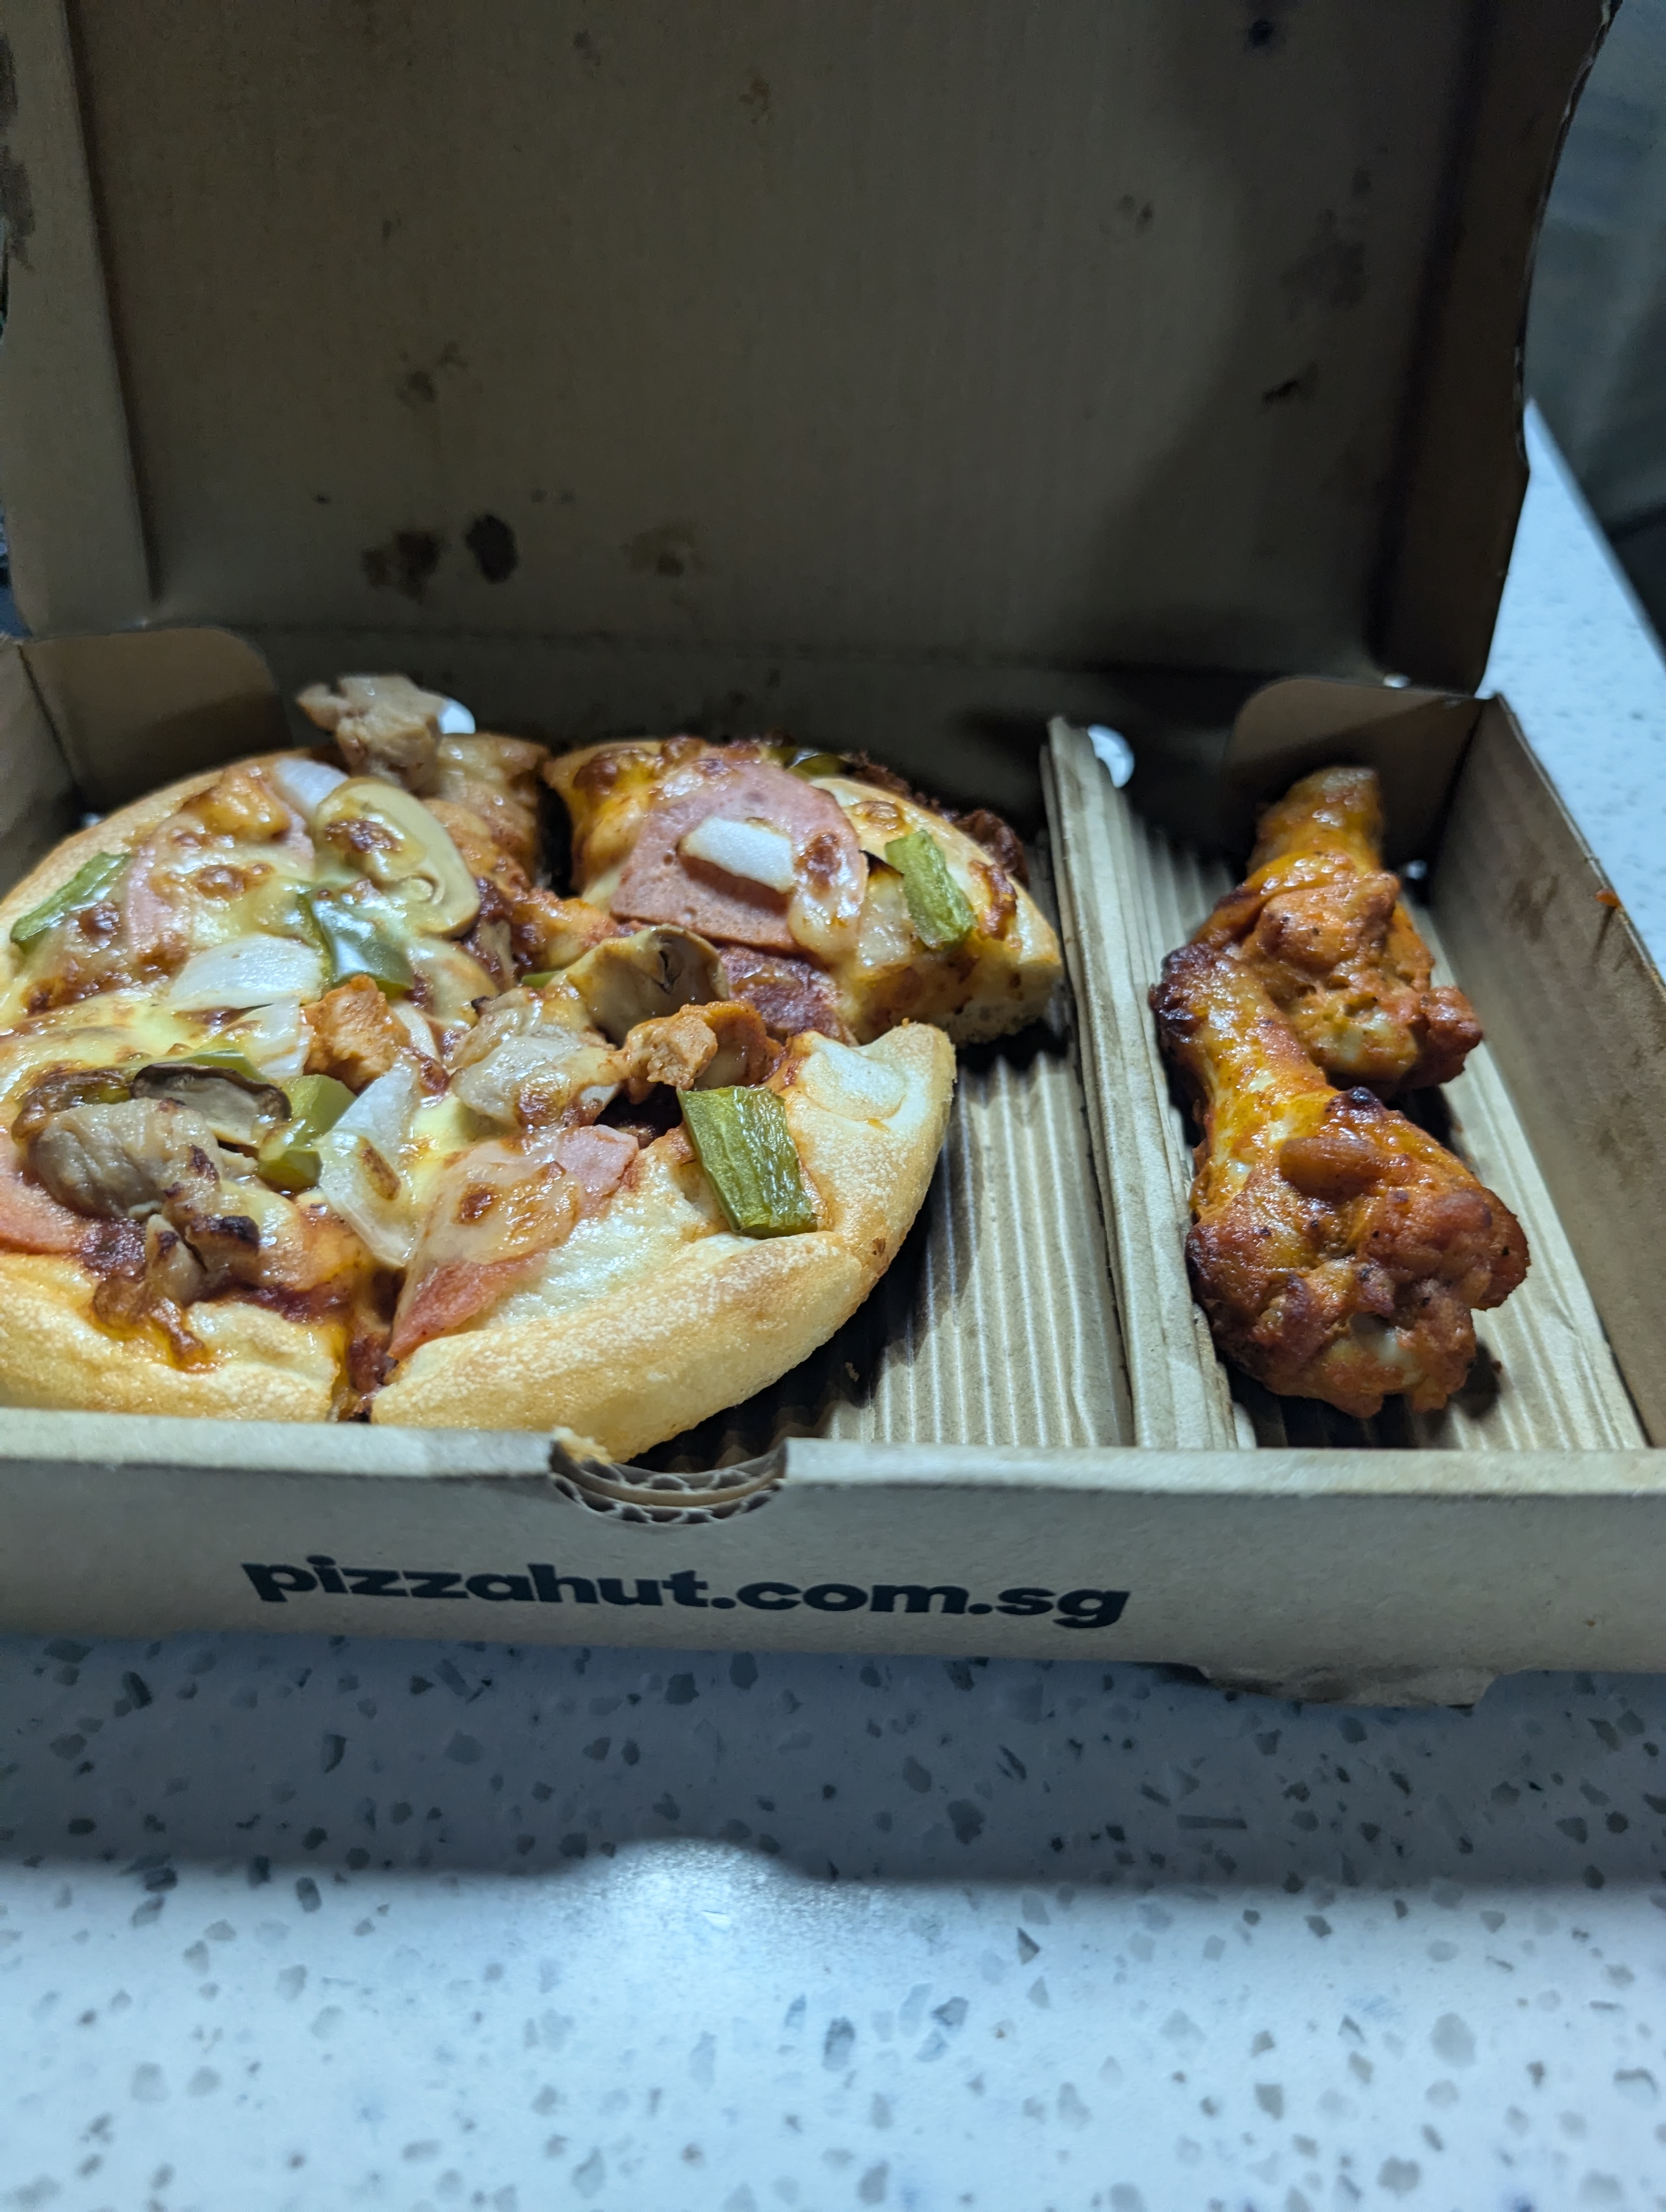
Pizza Hut. Cheaper than catering I guess…and it’s free! Can’t complain too much I guess-
As you probably already figured, this school does have 2 canteens, the level 3 and the level 4 one. Here’s the latter:
Video compressed to save space
I’m quite surprised that GIIS has 2 canteens with proper seating and real tables. As an individual from places far and wide who must live with generic gray plastic chairs without armrests and perpetually stained glossy plastic tables, this was a real breath of fresh air. Don’t take your tables and chairs for granted!
Miscellaneous
I forgot to talk about the event’s design. Designer Ashwath and his team really put a lot of effort designing everything within the event!
At the registration, everybody was given merchandise. A band, lanyard and T-shirt. Not only that, every room had cool designs stuck on outside that almost aggressively shoves the fact that you’re at Hackathon X and not any other event but almost in a kind way. Even the slides were really carefully designed; there was quite a bit of attention to detail.
Heres how the merch looks:
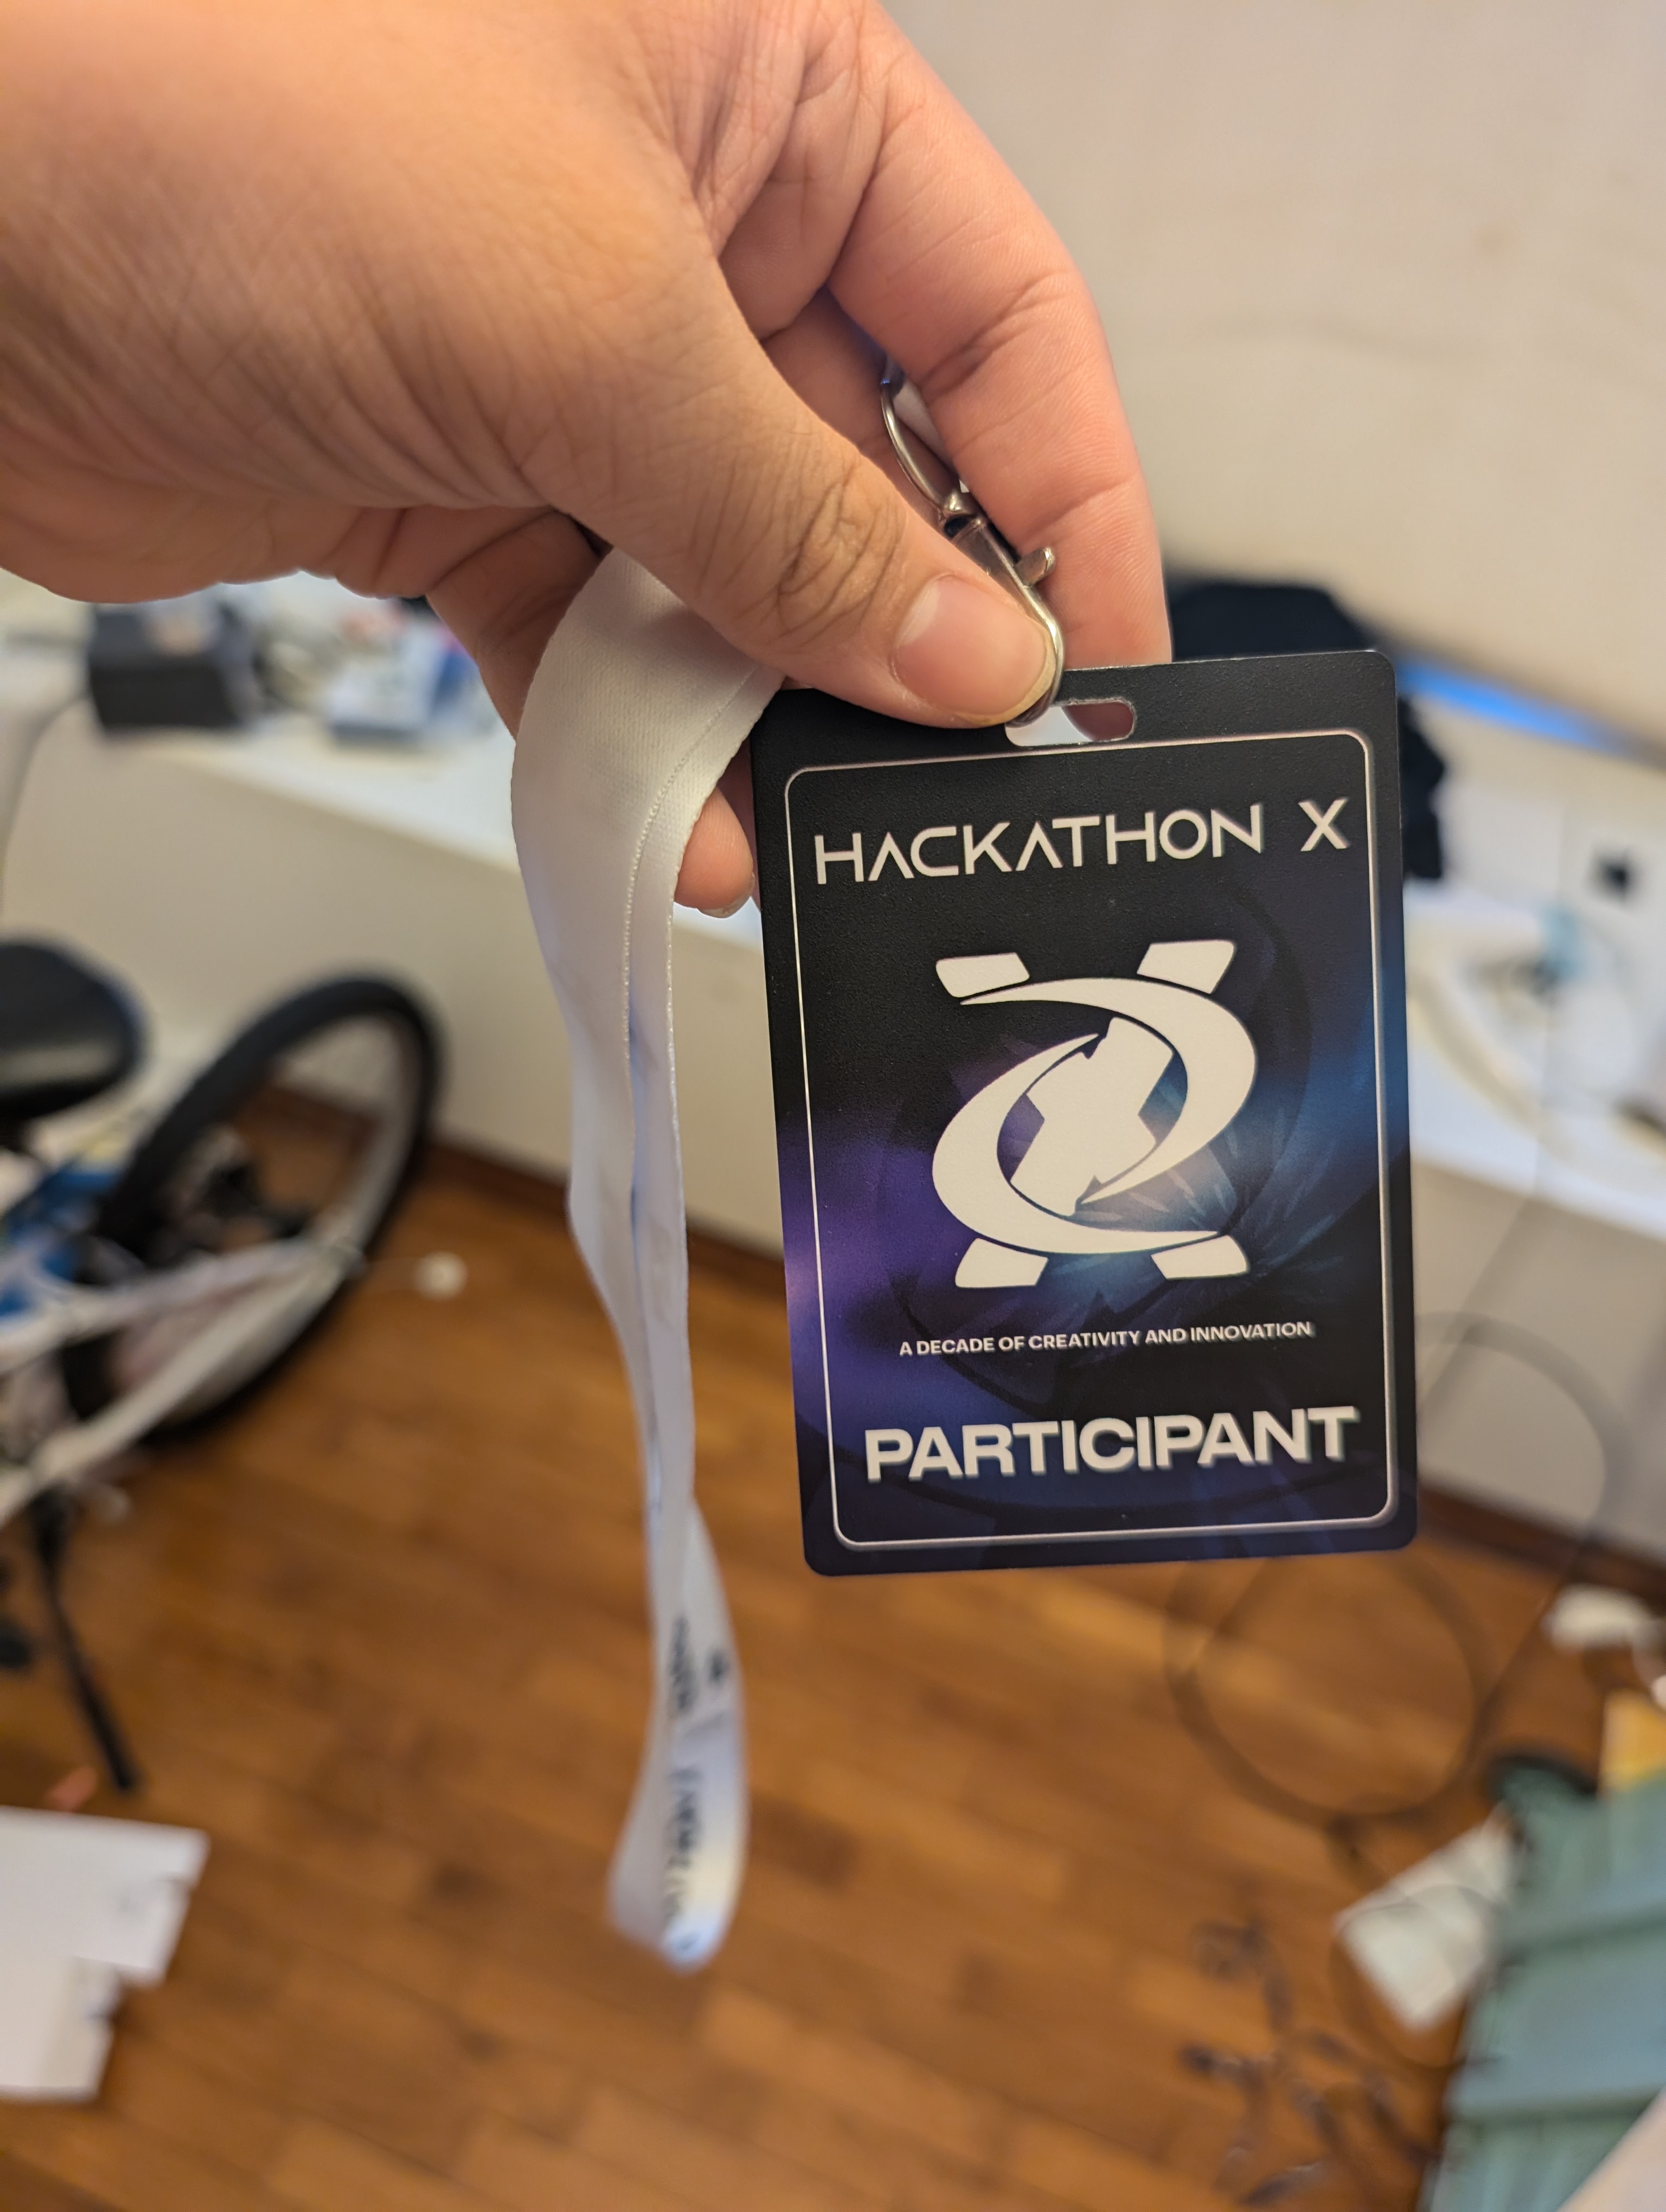
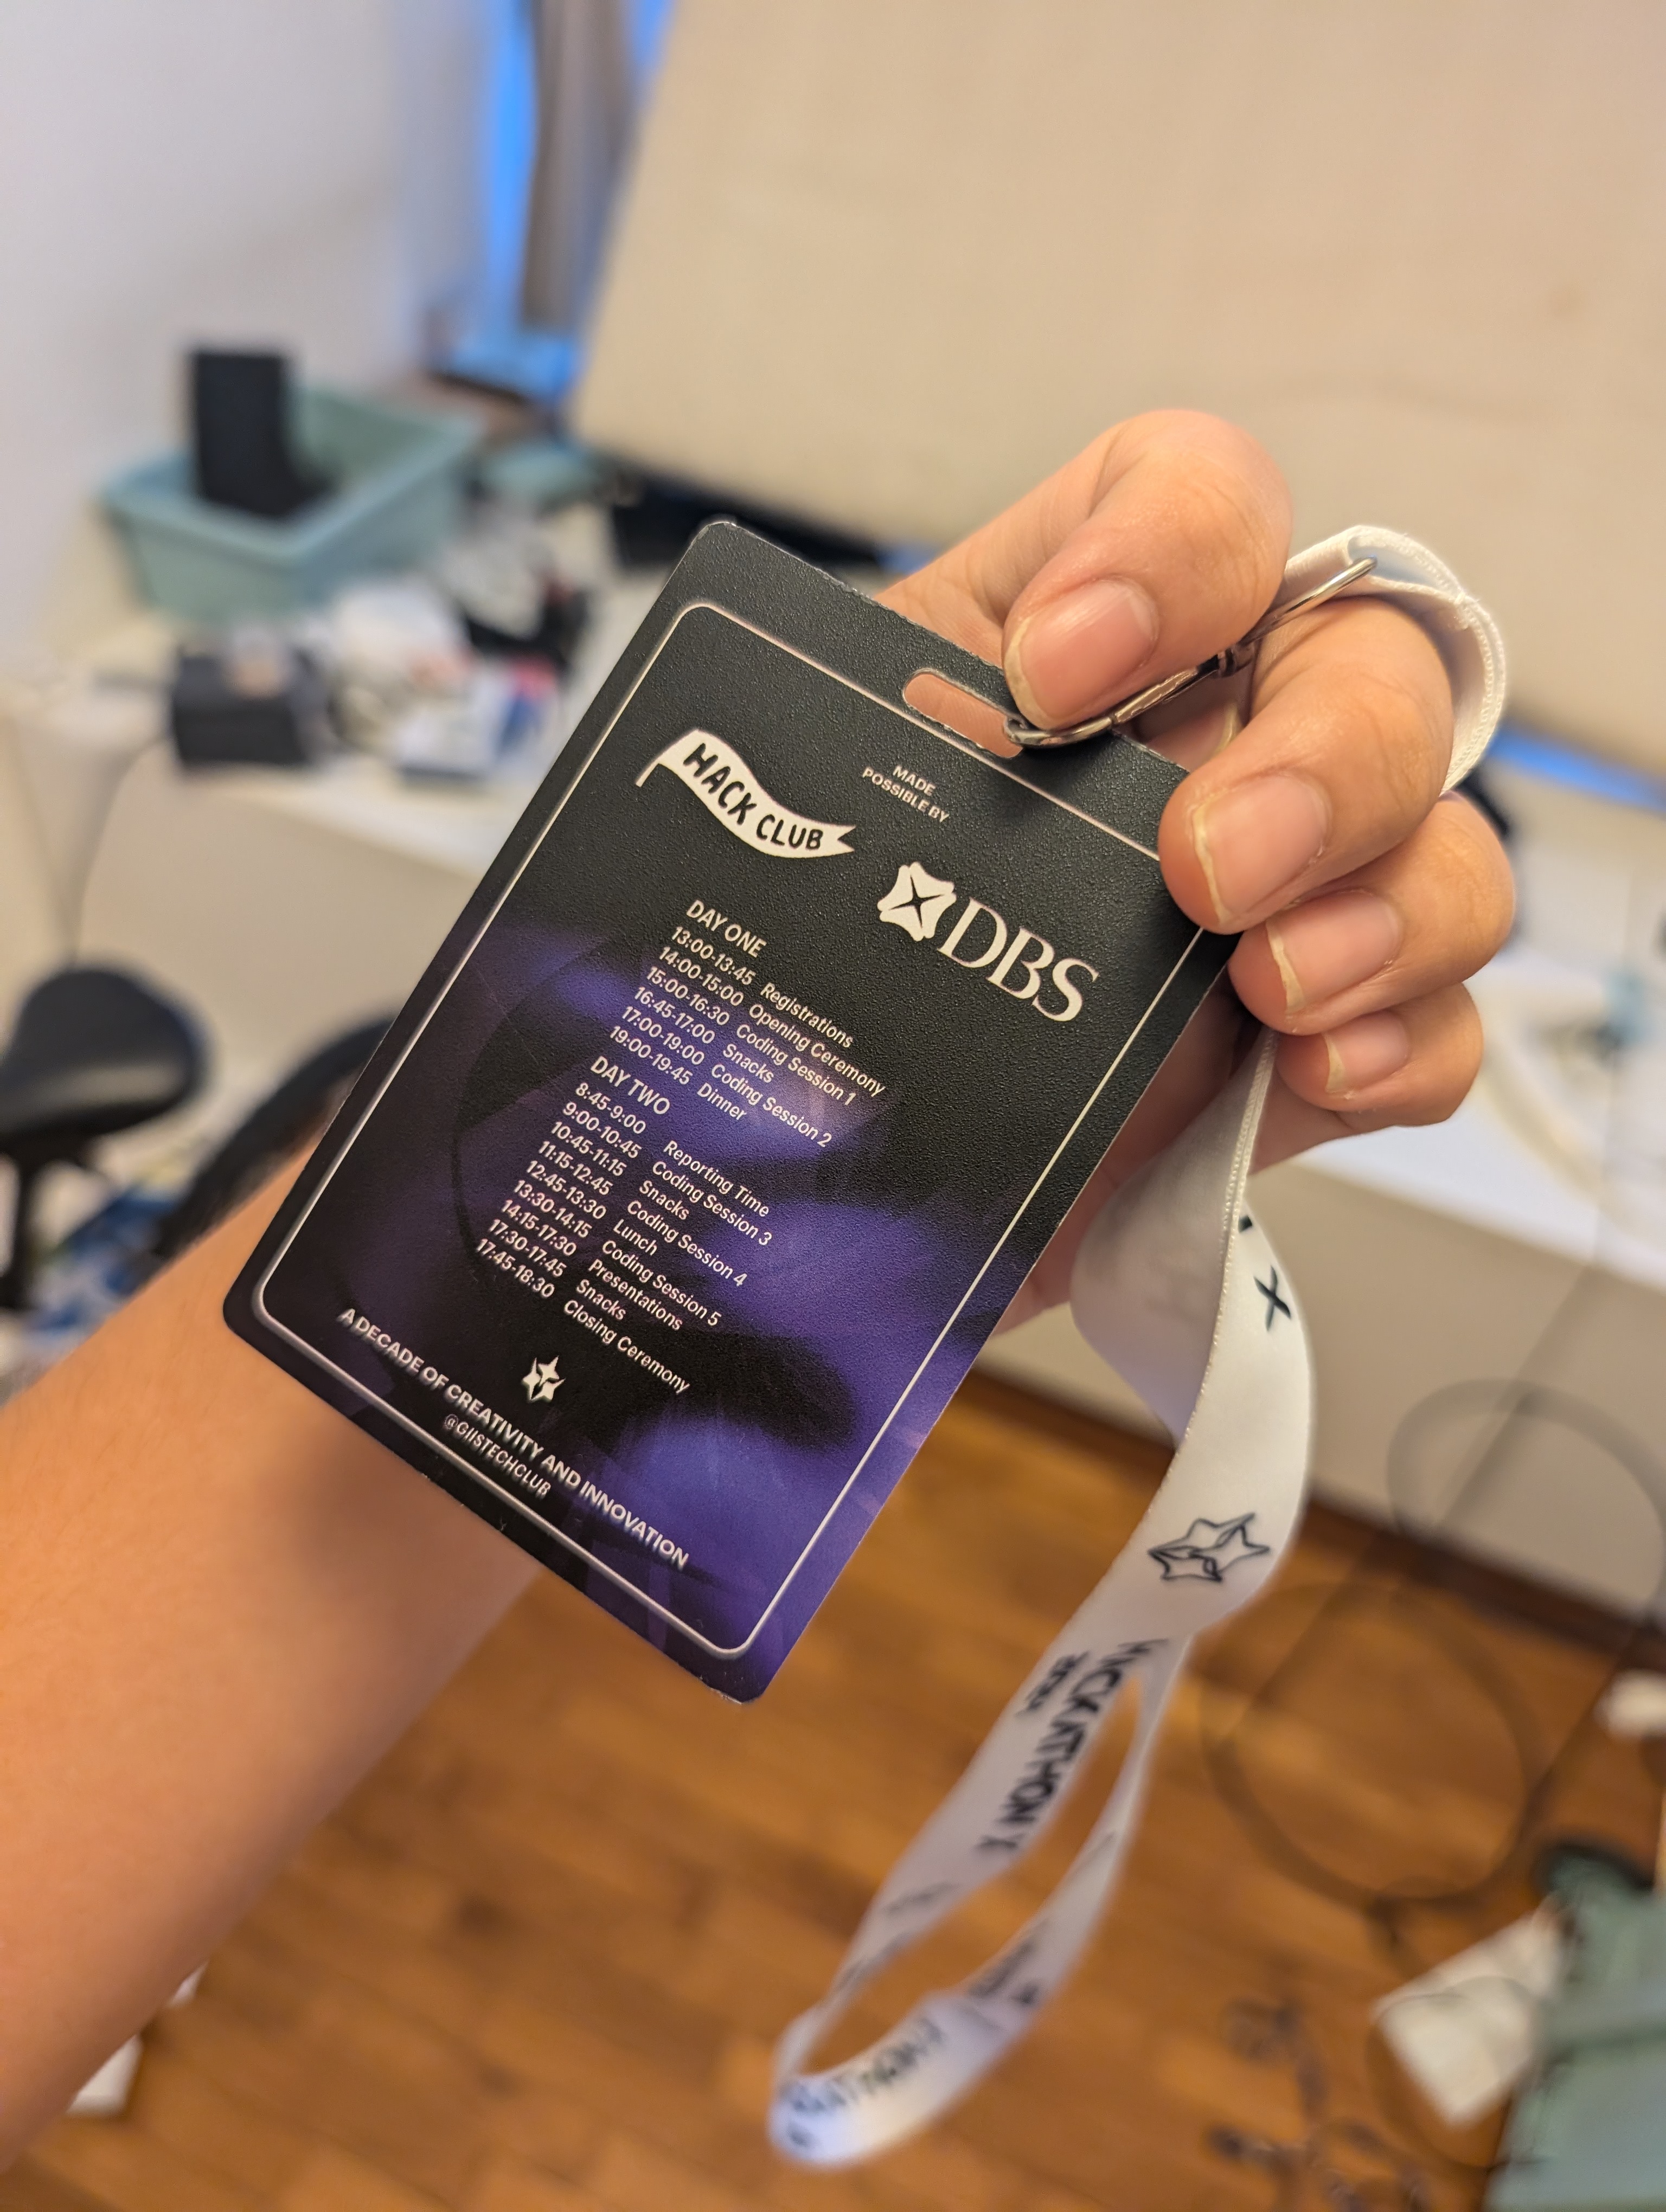
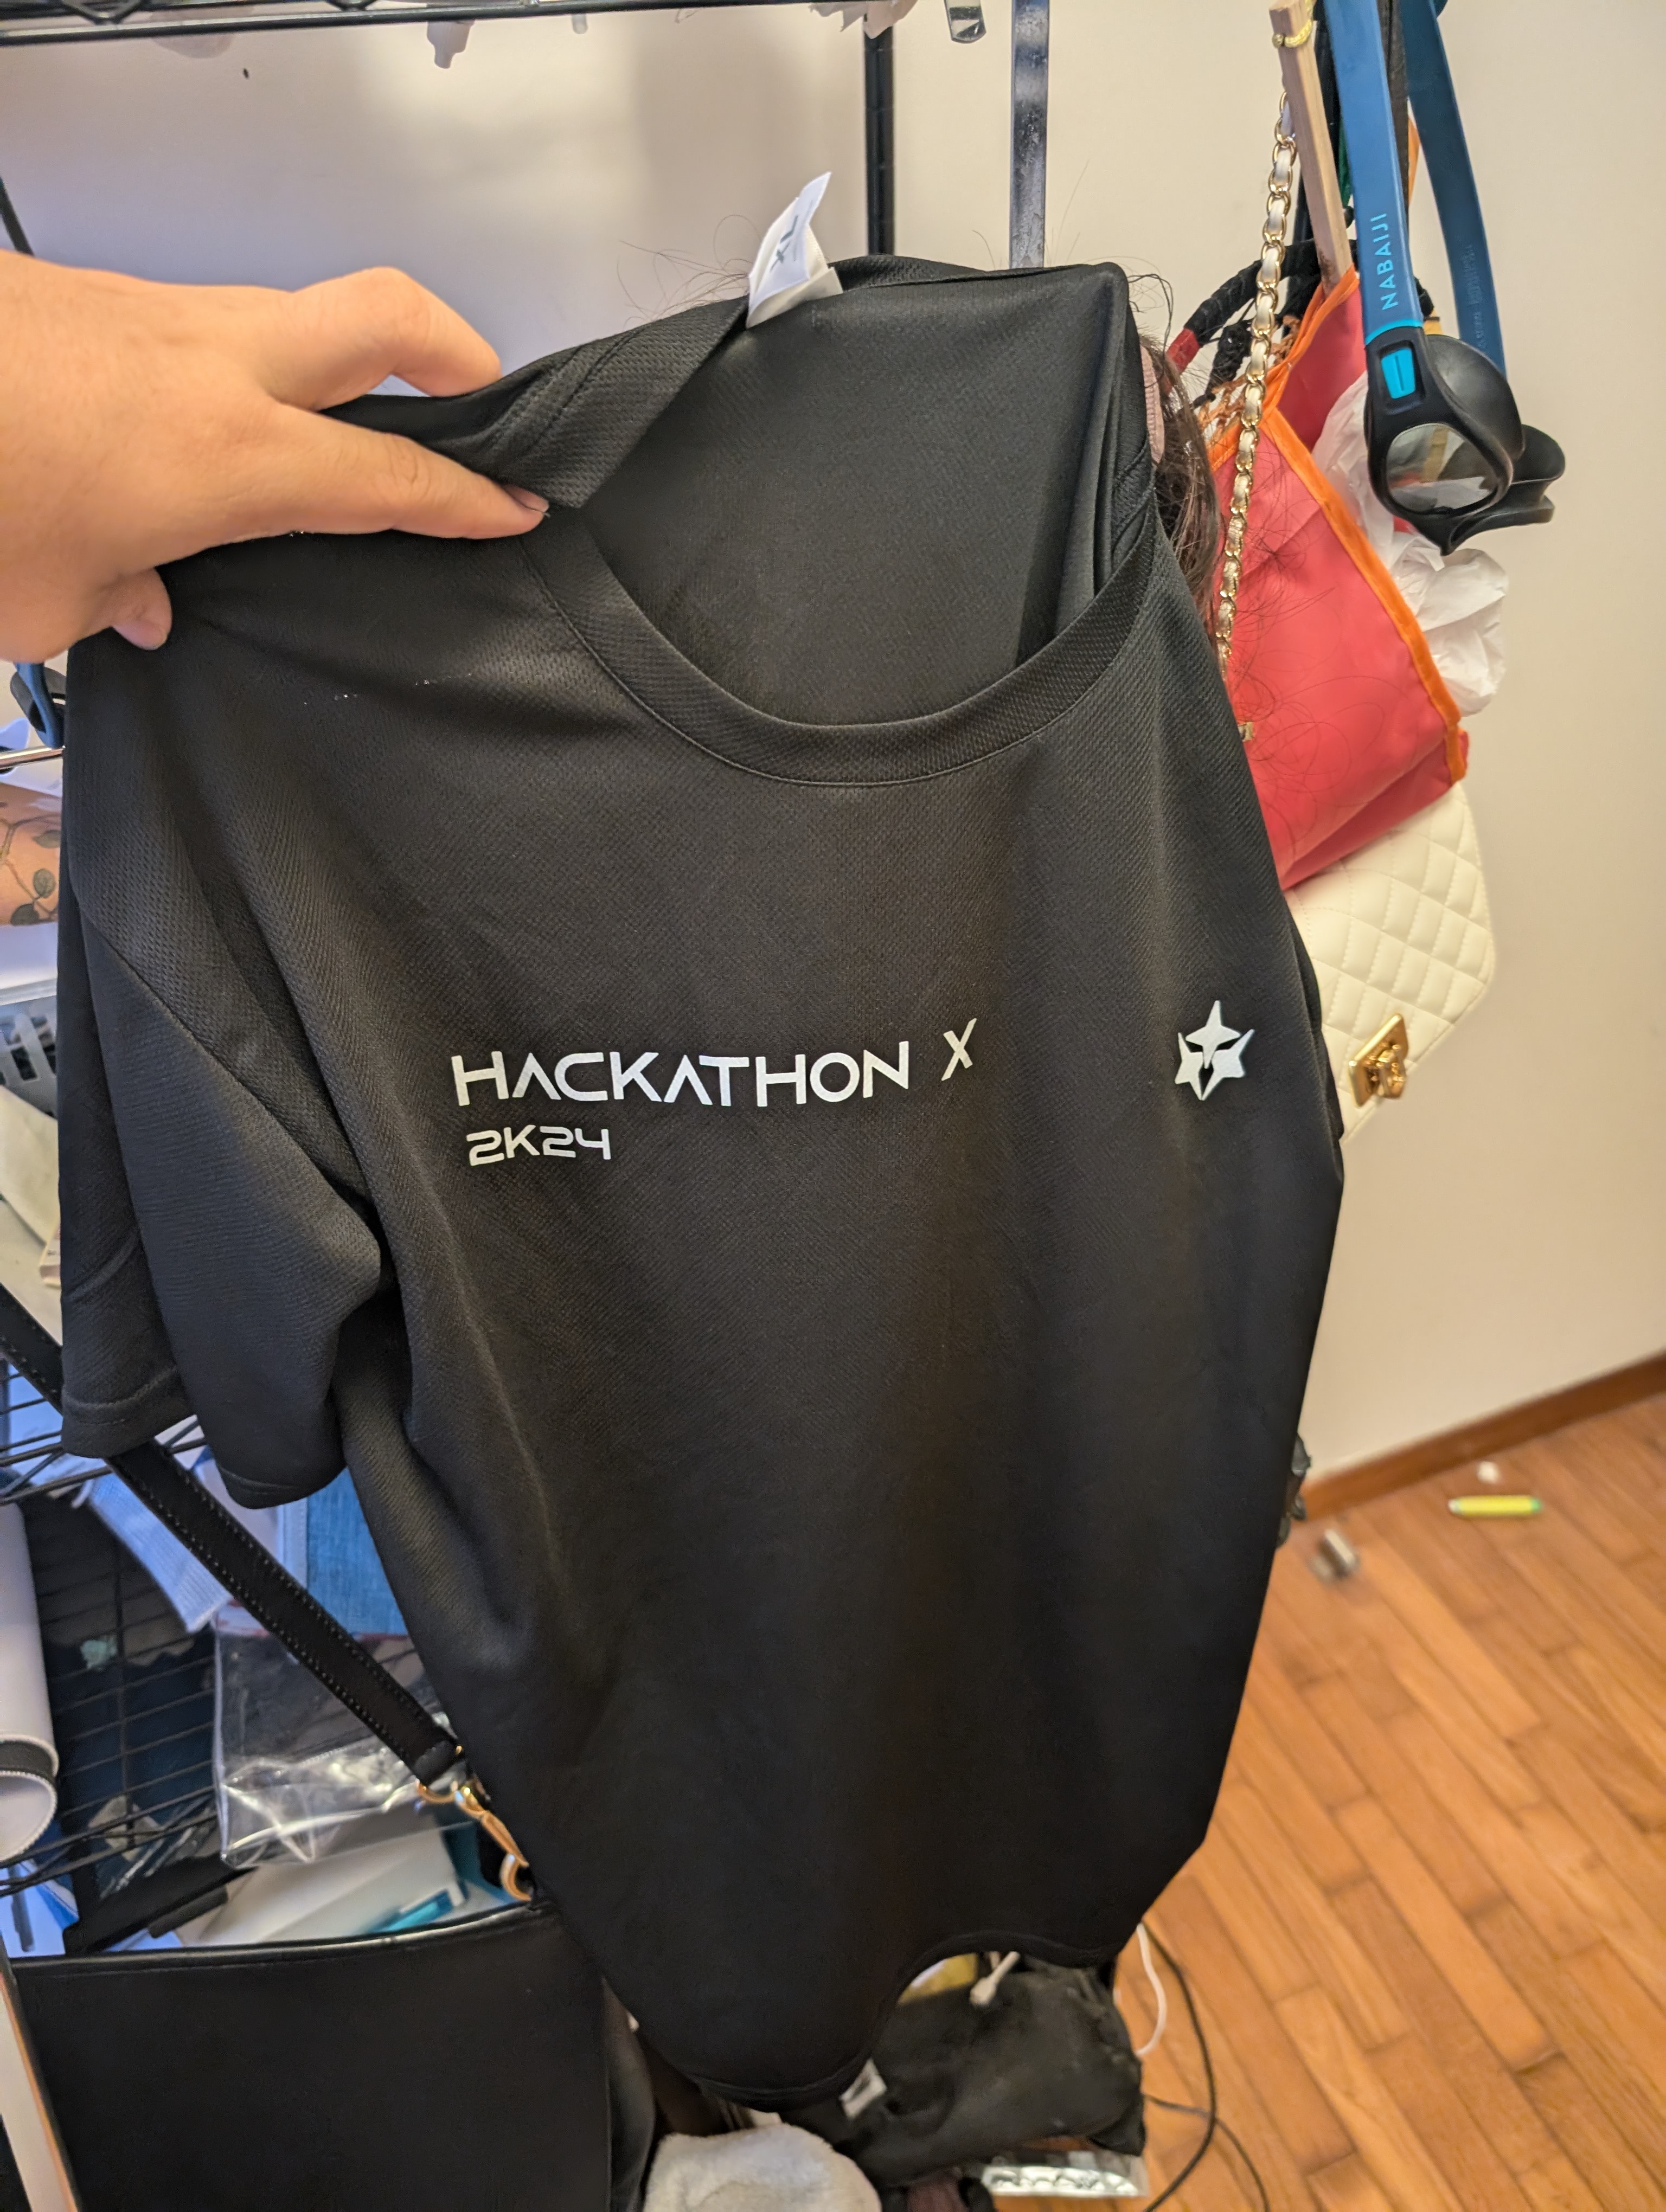
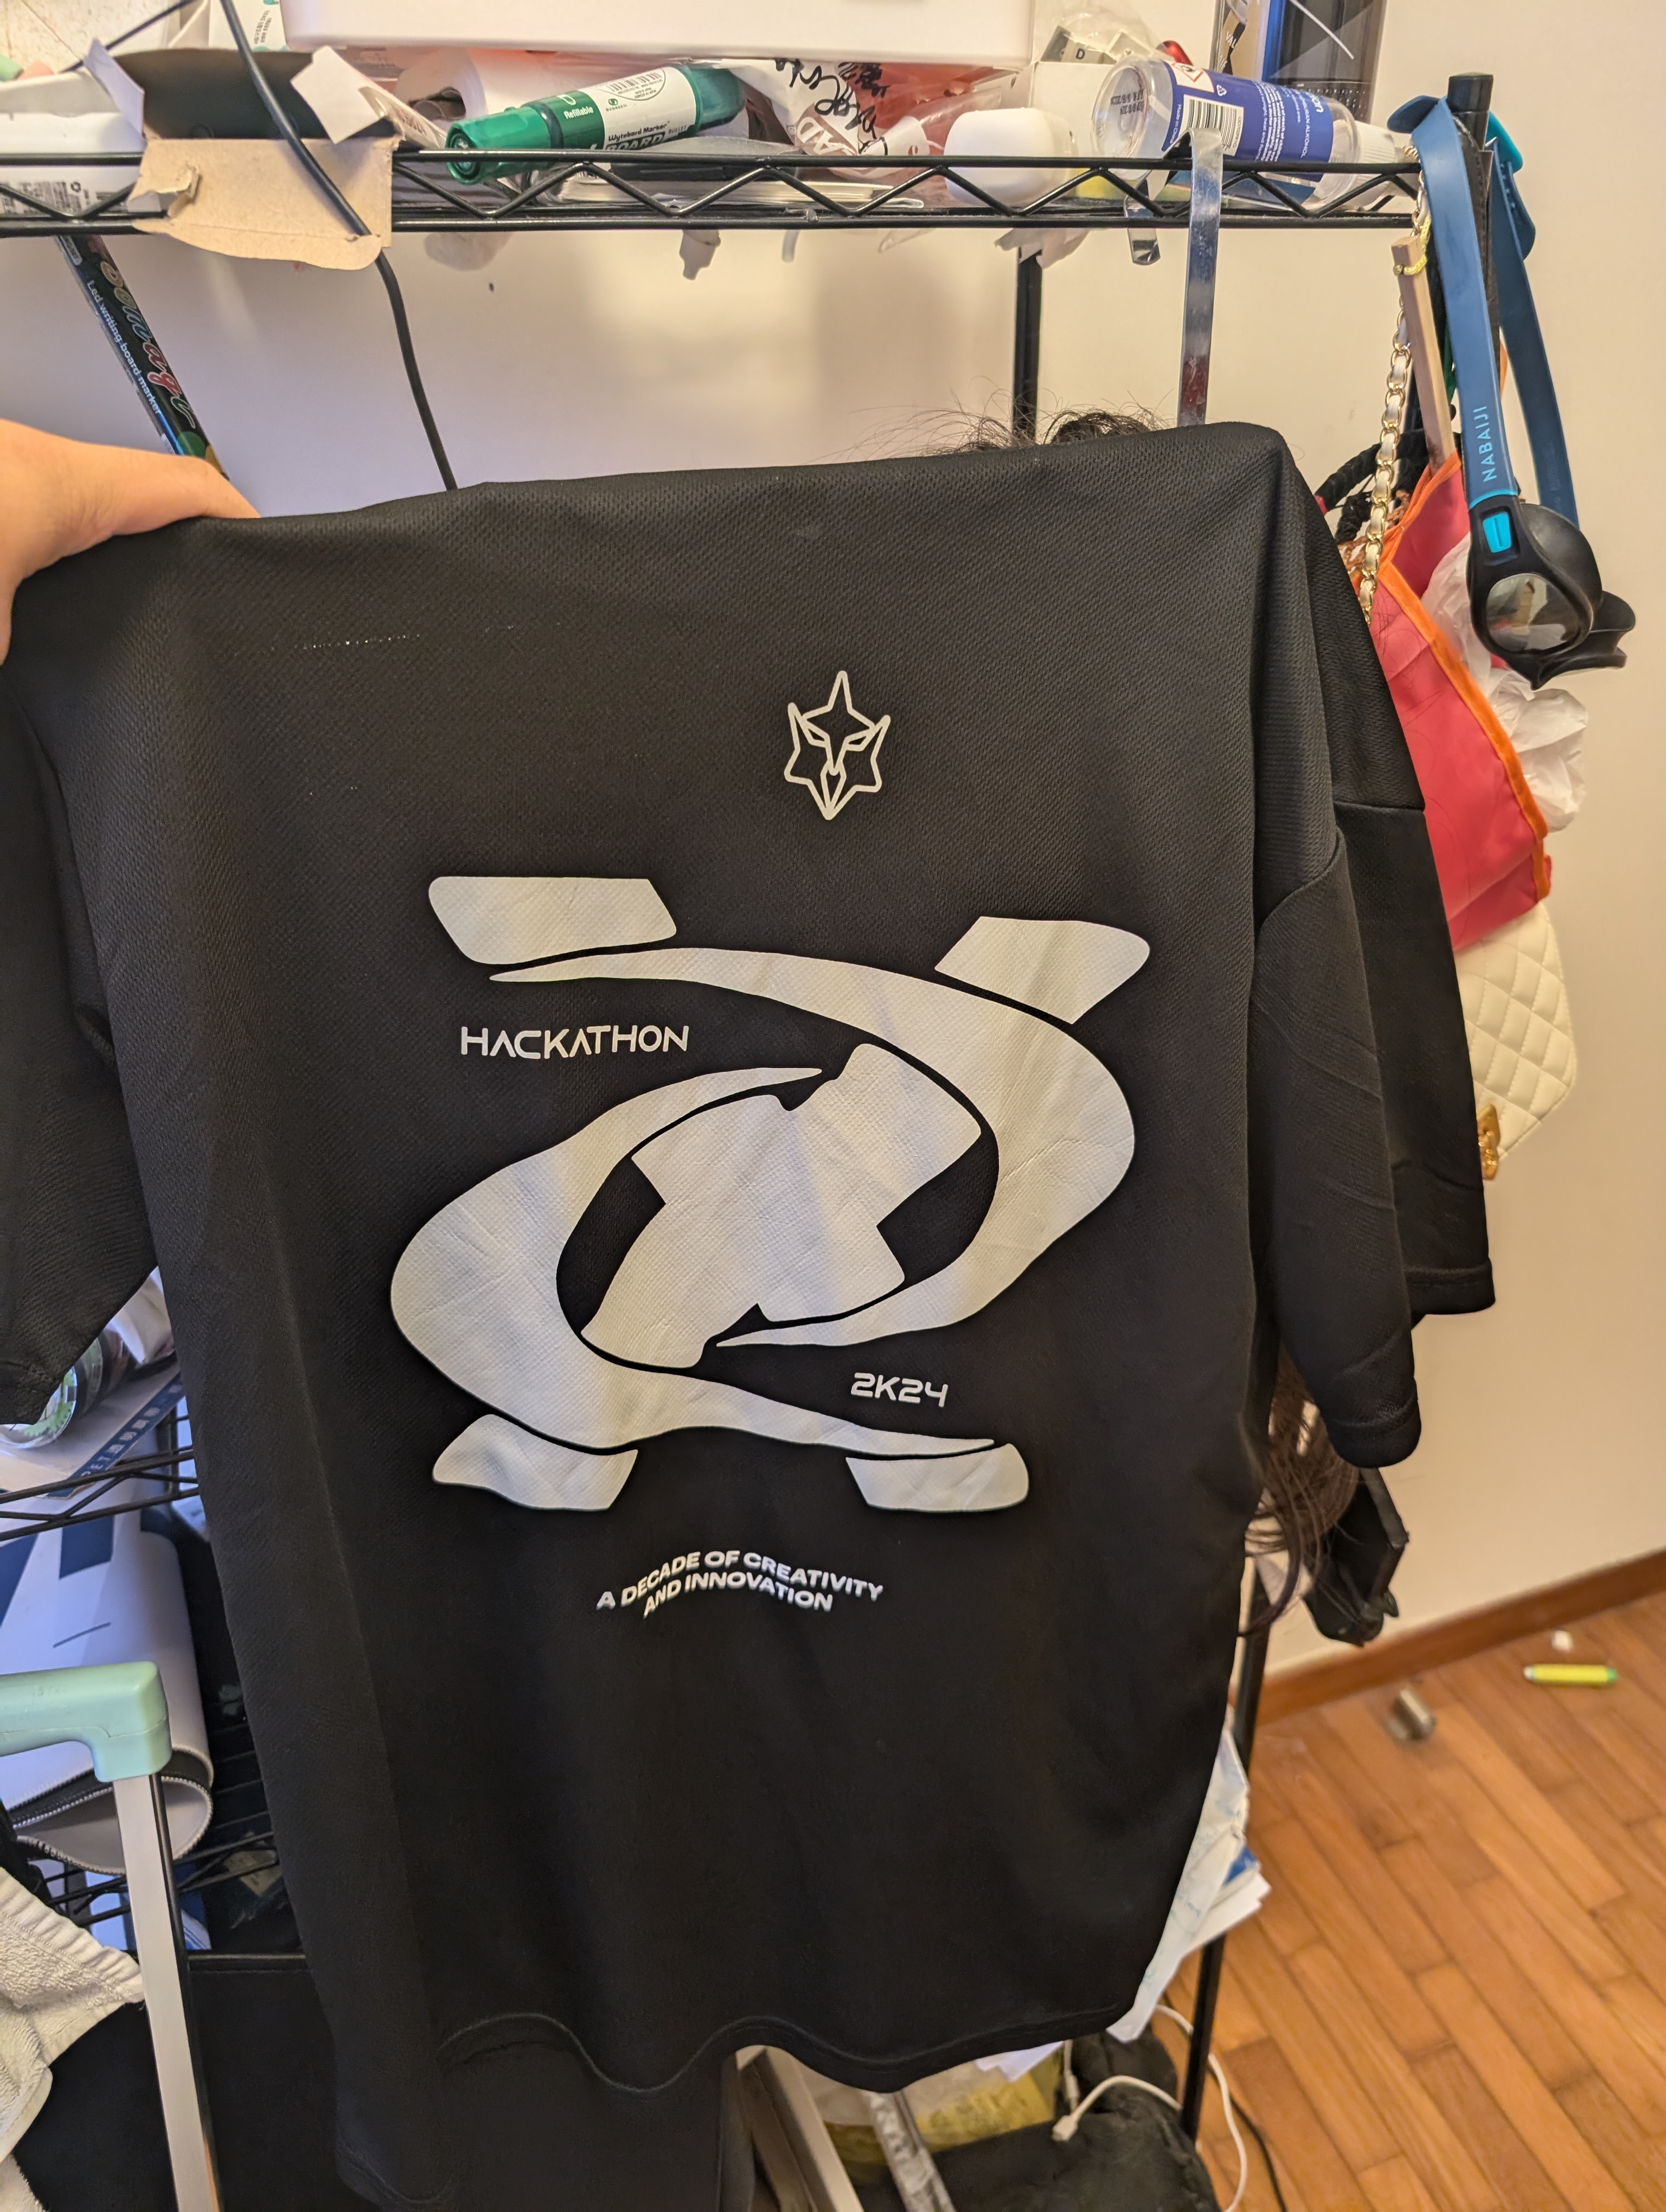
(I lost my bracelet :skull:)
Unfortunately, I don’t have any photos of the rooms, or any of the other designs; It really was in my subconscious until now. I do still think it still deserves a mention.
I’m also ending this article early because there’s still a lot to talk about. However, I have already gotten to >1900 words (according to neovim at least), so I’ll discuss the second day and other such things in the next and most likely last article.
Stay tuned.
UPDATE: Here’s the next part.
footnotes
- I really like Indian food. I really dont care if its north or south, because I’ve tried it all. And I love it. Millions must consume Indian food.